
As a professional pet care consultant for over a decade, I’ve dismantled dog cages more times than I can count. Most of my work involves helping pet owners rearrange spaces, upgrade kennels, or move safely with their dogs. Over the years, I’ve noticed that removing a cage can be surprisingly tricky if you don’t approach it correctly, especially with larger models or older cages that have developed stiffness.
Early Experience: Learning the Hard Way
The first time I faced a stubborn metal crate, I realized most people underestimate the attention to detail required. The crate belonged to a client with an anxious Labrador. I had to keep the dog calm while I disassembled the cage. Rushing often leads to bent wires or pinched fingers.
Step One: Ensure Safety First
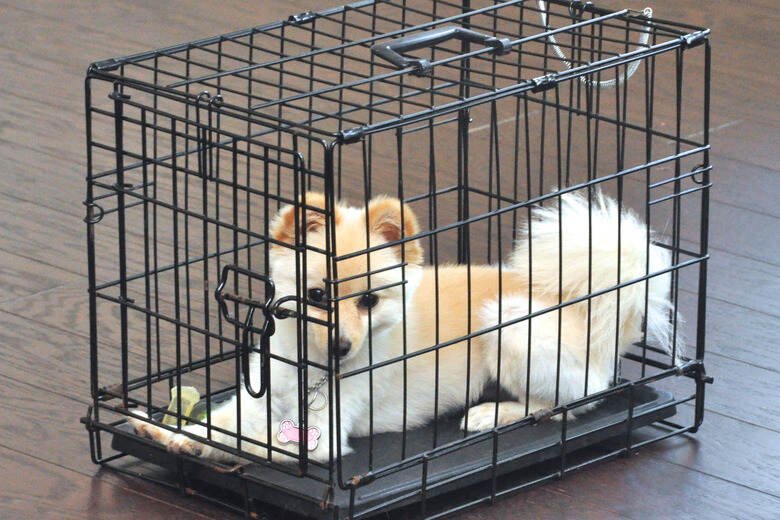
The first step is always safety, for both you and your dog. I usually ask the dog to step out of the crate or distract them with a favorite toy. Trying to take down a cage with a dog still inside is a recipe for stress and potential injury. Once the dog is safely out of the area, I check the crate thoroughly to identify its locking mechanisms.
Many cages have latches at the front and hinges along the sides. One thing I’ve learned is that these hinges can become stubborn over time, especially if the cage has been exposed to moisture. A light tap with a rubber mallet can free them up without causing damage.
Start from the Top: The Right Order Matters
I start dismantling with the top panels. Removing the roof first gives better leverage for the sides. I recall helping a friend with a collapsible crate. Starting with the sides made the top difficult. Once we reversed the order, the crate came apart smoothly. Panels that seem secondary often make the process easier.
Watch for Clips and Pins
Another pitfall I’ve encountered involves retaining clips or pins. Some cages use simple metal pins that hold panels together, while others have plastic fasteners. I’ve seen owners break clips when they try to force the panels apart without first releasing all the attachments.
I always recommend checking each corner carefully—wiggle pins gently and ensure nothing is under tension. Patience here prevents damage to the cage and saves money if you plan to reuse it.
Handling Large or Heavy Cages
For particularly large or heavy cages, I bring a second set of hands. I recall a customer who had a crate large enough for a Saint Bernard. Trying to lift or pivot that alone would have been impossible, and attempting it could have easily bent the frame.
Having someone assist us would help support the panels as we removed them, keeping the crate intact and avoiding injuries. Even with smaller cages, a helper can speed up the process and reduce stress, especially if your dog is watching nervously.
After Dismantling: Inspect and Store Properly
After dismantling, I inspect each piece. Bent wires, loose latches, or warped panels can be repaired for storage or reuse. Storing cages in sections, not fully assembled, saves space and makes future assembly easier.
Final Thoughts: A Methodical Approach Wins
Taking down a dog cage isn’t difficult, but a methodical approach matters. Patience, attention to locking mechanisms, and order of operations make the difference. Whether small or large, respecting the cage’s construction and your dog’s comfort ensures safe, efficient removal.